Using Makizume Block
Please refer to the video above for simple instruction and how it works
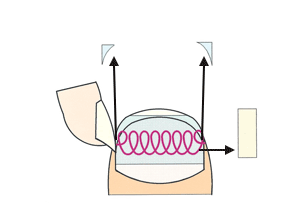
After your nail has been corrected with “Makizume Robo”, sometimes a space will be made between the nail and fresh. Until the fresh lifts up and fills the space, “Makizume Block” prevents the nail from deforming back, by leveraging the force of the stretched spring forming back to its original position.
Correction before the procedure
Correct your nail with Makizume Robo, and dry sufficiently.
-
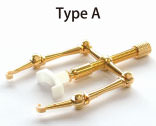
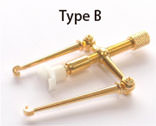
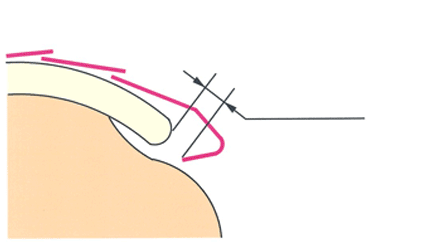
1. Set installation tool on one side of the Block. There are longer and shorter hooks on the installation tool.
Place the longer hook on and the shorter one on as shown in image on the right.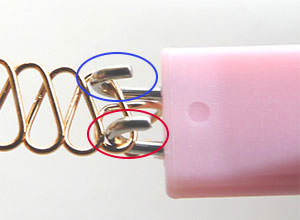
-
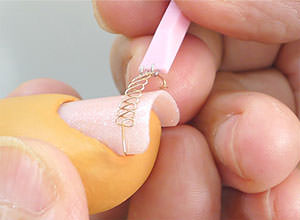
2. Hook the Block on one side of the nail. Hang the hook over one side of the nail.
-
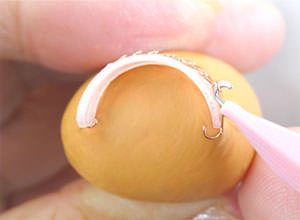
3. Hang the hook on the opposite side. To ensure the hook doesn't fall off, please pinch the Block with your fingers. Then hook the opposite side of your nail.※ Be aware not to pull the Block too much.
-
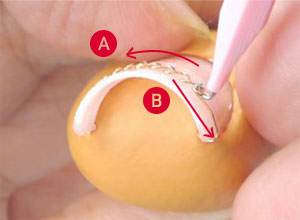
4. Taking off the installation tool Pinch both sides of the Block to ensure not to fall off, then swing the installation tool to direction A and take off the installation tool after moving along direction B.
-
5. Arrange the position and put on the cover. Push the hook inside as far as possible to have it stabilized.
Make sure the hook is parallel to the end of the nail.
Put on the attached cover, and the procedure is done.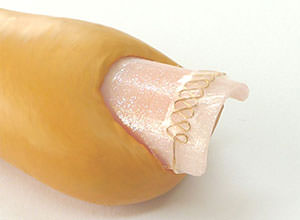
Please make sure not to over-stretch during installation.
As long as you take care not to over-stretch the spring during installation and uninstallation, you can use the Block repeatedly. However, please exchange with new Block when you have accidentally over-stretched, or when 4 months have past.
*As shown in the image below, if you over-stretch the spring for over 2mm during installation, the strength of the spring will go down and effectiveness would disappear.
Do not over-stretch the spring

Stretch less
than 1mm
Do not stretch more
than 2mm
* Be careful not to over-stretch during installation!
Using the cover
-
1. Pull off a cover The cover will come with 5 as a set. Pull off one with your hand.
Pull off
-
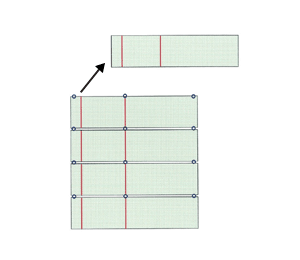
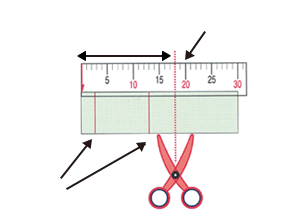
2. After aligning at the length of the
surface of nail, cut it down.Length of the
nail surfaceMeasure sheet
slit
-
3. Paste on one side of the nail. Peel off the release sheet as shown in the figure, and paste the cover firmly to the end.
Peel of
slit
Center of
the Block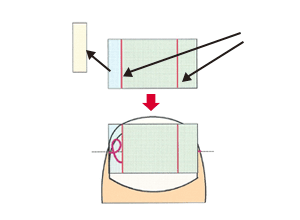
-
4. Paste the cover over the block. Take care not to make a wrinkle, and carefully place the cover over the Block while peeling off the release sheet.
* Do not pull the sheet forcefully.Paste firmly,
especially both ends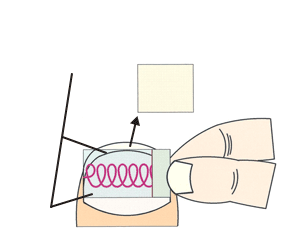
-
5. Arrangement As shown, peel off the last release sheet, and paste the end of the cover firmly using your finger nails. Please make sure air does not go under the cover, and cut off the remaining sheet
* If air stays under the cover, it will become easier to fall off.Peel off
Peel off