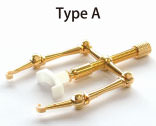
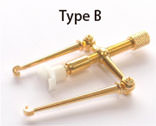
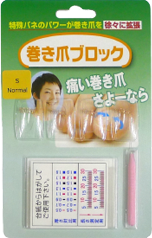
Using Makizume Robo
Type B
Please refer to the video above for simple instruction
Parts and structure
nail hook
(short)
spring
(inside)
adjustment
screw
adjustment
stud knob
base
plunger
nail hook
(long)
nail
pressurizer
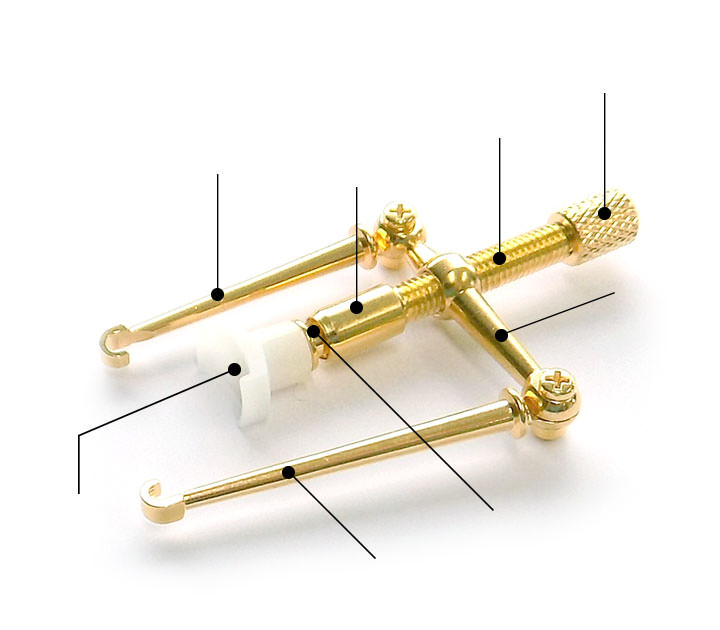
Turn the knob and adjust screw to lower the plunger.
The hooks will bend upward from rebound force of the spring.
Before equipping Makizume Robo,
you will need simple preparation for better result.
Preparation
1. Confirm the condition of the nail and its surrounding.
If there's bleeding, fester, inflammation, onychomycosis and other symptoms in your nail and its
surrounding, please treat them in a hospital before using the appliance.
* Onychomycosis is a fungal infection of a nail. This might change the condition of your nail,
which could inhibit softening.
2. Reshape the nail
For the Makizume Robo to hook to your nail easily, reshape your nail as shown in figure3.
Nails too short to put on
if both sides of the nail are round,
the equipment will fall off
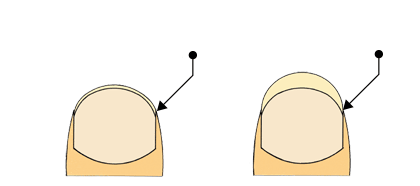
 1.Nails cut too close
2.Nails cut close on both ends
Keep the nail
on square cutting
Keep the sides
as flat as possible
1mm or above
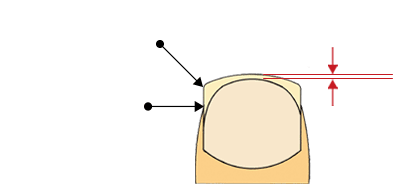
 3.Exend on both sides of the nail flat to cut the tip.
* For all types of nails on Figure [ 1 ] and Figure [ 2 ], please adjust as Figure [ 3 ] after the nail grows
Please remove manicure
before correcting.
If the nail surface is covered with membrane, it may hinder moisturizing,
which is indispensable for harmless treatment.
STEP1Installation
-
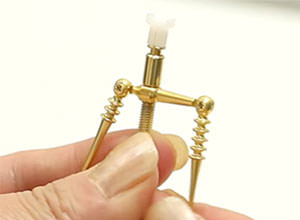
1. Loosening the knobWhile the arms are bent toward the knob, loosen the knob to its maximum.
-
2. Hook the appliance to nail Insert the shorter hook from front side of the nail, to more deformed or thicker side.
Set other side while securing the hooked side from falling off.
Try to place the hooks close to the root of the nail as possible, and make sure to place them parallel to the root. If the pain is too strong to hook... The pain can be eased by soaking in warm water for about 15 minutes before hooking.※The effect may vary by individual.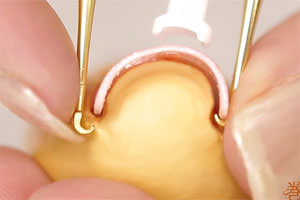
-
3. Stabilize the tool by tightening the knob While pinching the hook, tighten the knob in vertical position.
Once the pressurizer reaches to the nail, again tighten the knob until there's no space between the pressurizer and the plunger. Once the pressurizer reaches to the nail, make the curvature top of ingrown nail ● and center of nail pressurizer ●, and the center of the appliance ● to straight line as the right figure.
Tighten the knob until there’s no space between the pressurizer and the plunger.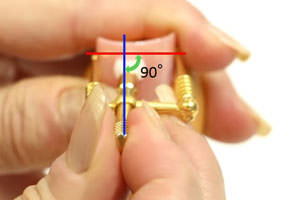
If the pain is too strong to tighten until the space between the pressurizer and the plunger is gone...※ The procedure is to stabilize the appliance during the surgery.
Please tighten the knob as much as possible, within the range you feel comfortable.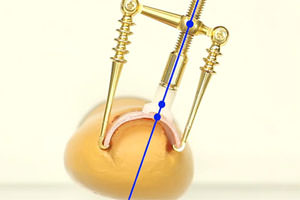
STEP2Softening
-
1. Immerse your foot in warm water While the tool is on your foot, immerse them to warm water.
Recommended water temperature is 38-42°C.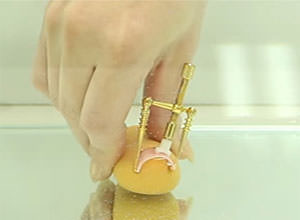
-
2. Wait for approximately 20 minutes Immerse your foot for around 20 minutes, until the nail gets soft.
As nails become more and more softer, the strength of the spring gradually corrects your nail. ※The effect and treatment time may vary by individual.
Insufficient softening may cause nail fracture, thus please soften nail sufficiently.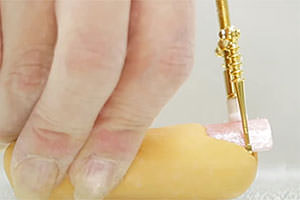
※ To know when to finish immersing Immersing is successfully done when you can lift the tip of your nail easily without pain.
※ This is the most important step to successfully correct your nail,
thus please take longer time for softening than you feel efficient. If the pain is too strong to hook...The pain can be eased by soaking in warm water for about 15 minutes before hooking. ※The effect may vary by individual.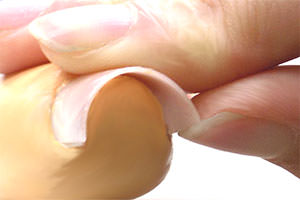
STEP3Correction
-
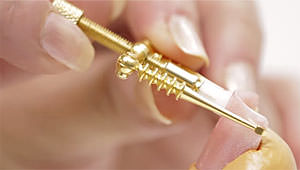
1. Correcting the nail Loosen the knob a little to fix the position of the appliance parallel to the nail.
Then tighten the knob and lift both sides of the nail to correct the shape. This procedure decides the final outcome of the shape of the nail, thus please make sure the shape of the nail is symmetric.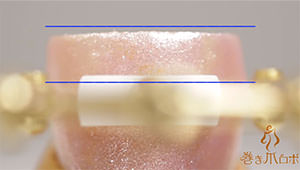
※If the deformation of the nail is large, excessive correction may cause nail damage. Please make sure not to reshape more than 2mm in height in a single procedure, and repeat the procedure for several times.
STEP4Drying
-
1. Drying the nail Keep on the Makizume Robo, and dry the nail with a hair dryer for about 10 minutes. ※ Insufficient drying may lead to nails deforming again.
Please make sure the dry air hits whole nail. This procedure is to harden your nail, thus the effect would be better with longer drying. In that case, please make sure not to burn your foot.
-
2. Taking off the Robo Loosen the knob slowly, and remove the appliance after sufficient hardening.

STEP5Maintenance
-
1. Maintaining the hooks The bacteria can be easily bled in the grooves on the hook after use. Please use brush and firmly wash with a neutral detergent.

-
2. Maintaining entire appliance Please also use neutral detergent to clean, and wash off with water. Make sure to store the appliance once it's totally dry.


